
Interested in using an embroidery machine to applique? Want to know more about the techniques to applique? Applique is a method of embroidering a fabric design on the surface of another fabric material. Although this can be performed by hand, embroidery machines provide an effective and time-efficient platform to achieve the perfect design.
Moreover, built-in designs incorporated in the embroidery machines provide outstanding and versatile options to consumers and let them experiment independently by importing the designs from other sources and creating their own designs. This article provides an insight into the ways to applique with an embroidery machine.
How to Applique with Embroidery Machine?
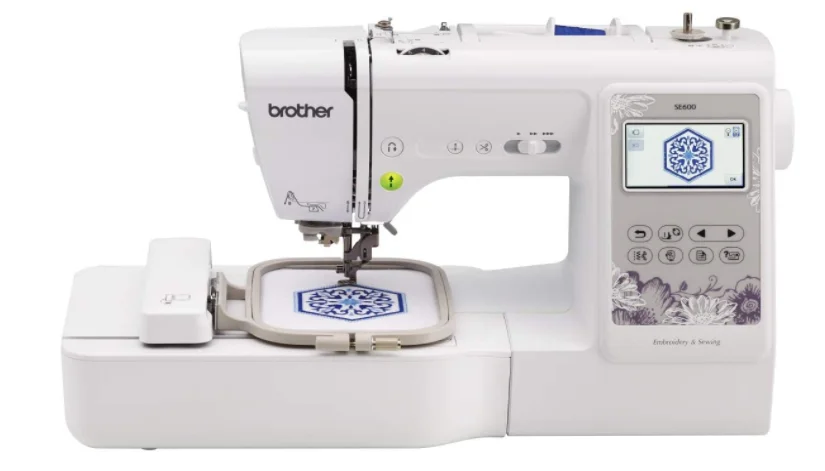
Using best embroidery machines to applique on various materials offer convenience to the consumers and improve their skills. It is also a cost-efficient and performance-oriented process and saves an ample amount of time for most users. Most of the machines use similar methods to perform the task with a few changes and exceptions. Below mentioned is the method to applique with Brother SE400/ SE600 embroidery machine, and this method can be used on most other devices.
Applique with Brother SE400/ SE600 Embroidery Machine
While using Brother SE400 or SE600 model, the first and the foremost step involves converting the sewing machine into the embroidery machine, which can be done by removing the front plastic casing and the integration of embroidery carriage in the machine. The second step focuses on removing the presser foot by using the black-handled tool present in the device.
The black handled tool removes the presser by losing the screw. Therefore, once the task has been done, the consumer needs to tighten the screw. This step is followed by the powering on the machine with a warning indicating the carriage movement. Once, notification has been selected; the carriage will automatically adjust itself. Now, the machine is successfully transformed into embroidery mode.
In order to applique, download the embroidery designs into the device, which can be achieved by choosing from the built-in designs or importing designs from external sources such as USB drives and various websites. Later on, place a layer of stabilizer on the top of an embroidery hoop and then a layer of the fabric on top of the stabilizer and secure them together with the help of another hoop.
However, If you are interested in making hats then Best Embroidery Machine For Hats will be the best choice. You can learn many things regarding embroidery on Her Embroidery.
The inclusion of hoop will ensure that materials remain in a constant place. Now, use the machine to stitch the embroidery outline by lowering the presser foot. Before beginning, make sure that the needle button is green. The next step involves the combination of fabric on the newly created embroidery outline. This step can be performed using two different methods.
Method 1
This is the first method and is used by the majority of consumers. The method involves the placement of the opposite side of the applique fabric on the design with wonder under and uses the machine to stitch an outline on top of it. Thereby securing both materials together.
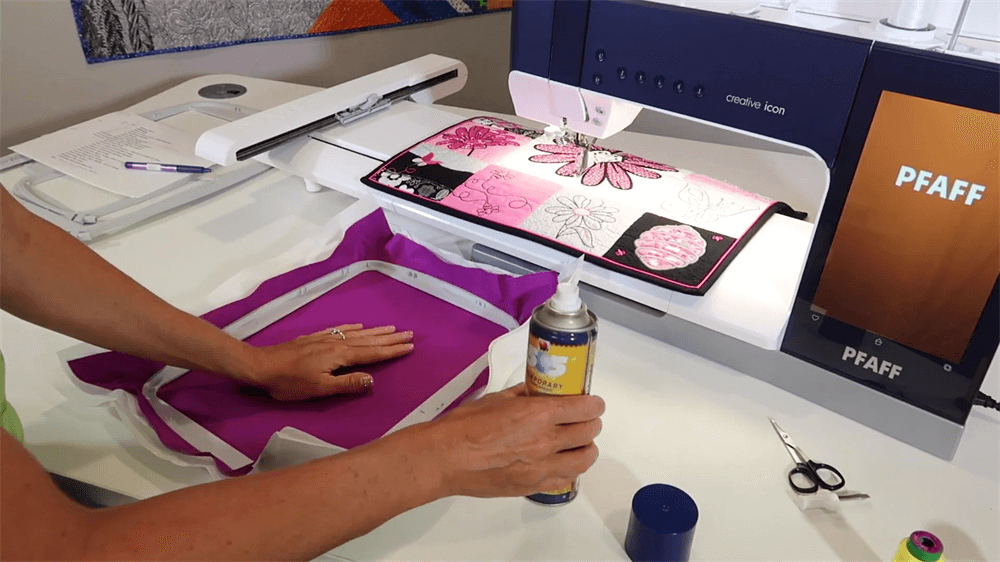
Method 2
If the first method does not work for you, you can proceed towards the second method, which involves using a temporary adhesive spray. Consumers need to place the fabric over the outline after spraying the back of applique fabric. The use of adhesive prevents the material from moving. Hence, making it easier to stitch them.
Afterward, using the needle button, stitch another outline on the fabric to ensure precision. Next, remove the hoop and fabric from the machine by losing the presser foot. Then, cut the extra fabric from the edges and material around the outline. However, make sure to avoid cutting the stitches. Press the materials together using an iron if you proceed with the above-mentioned method of using wonder under.
Now add a tacking stitch in the machine with the help of a needle button. Tacking stitch is a V or E stitch and acts as a base for the satin stitch. Satin stitch is carried out in batches and completes the applique design. The last step focuses on removing hoops along with the excess thread and fabric around the design. Now remove the stabilizer, and you are done.
Frequently Asked Questions
Can you applique with an embroidery machine?
Yes, it is possible to applique with an embroidery machine with excellent output. But it mostly requires the use of a stabilizer and an embroidery hoop to perform the task efficiently.
Is applique hard?
It is not very difficult to applique. However, if you choose to do it by hand instead of a machine, it may take some time and a lot of effort to achieve an outstanding result.
Do you need a stabilizer for machine applique?
Yes, a stabilizer is required for machine applique, and it is important to keep the fabric smooth during stitching and prevents the fabric from developing wrinkles.
Summing Up
Applique is a designing method that revolves stitching around two patches of fabric together, out of which the top fabric is embroidered with some design or needlework. Previously, applique was mostly done by hands; however, recently, embroidery machines are used to perform the task. These devices improve the design and efficiency and offer a cost-effective approach for the majority of users. Therefore, they are an ideal choice for most consumers.
Post time: May-16-2023