
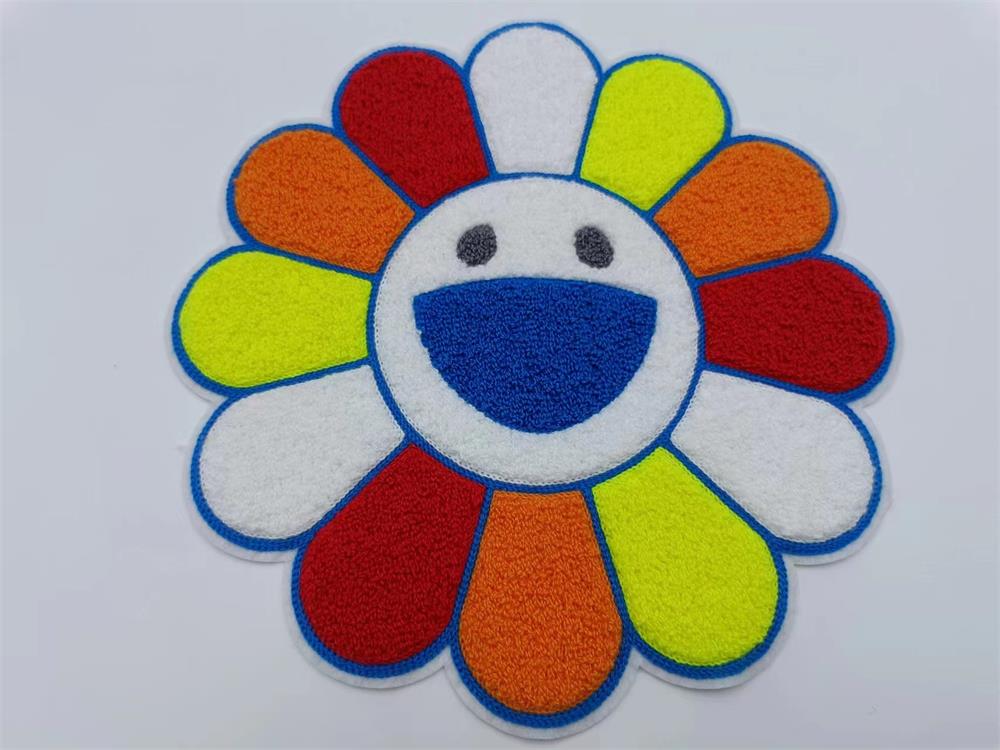
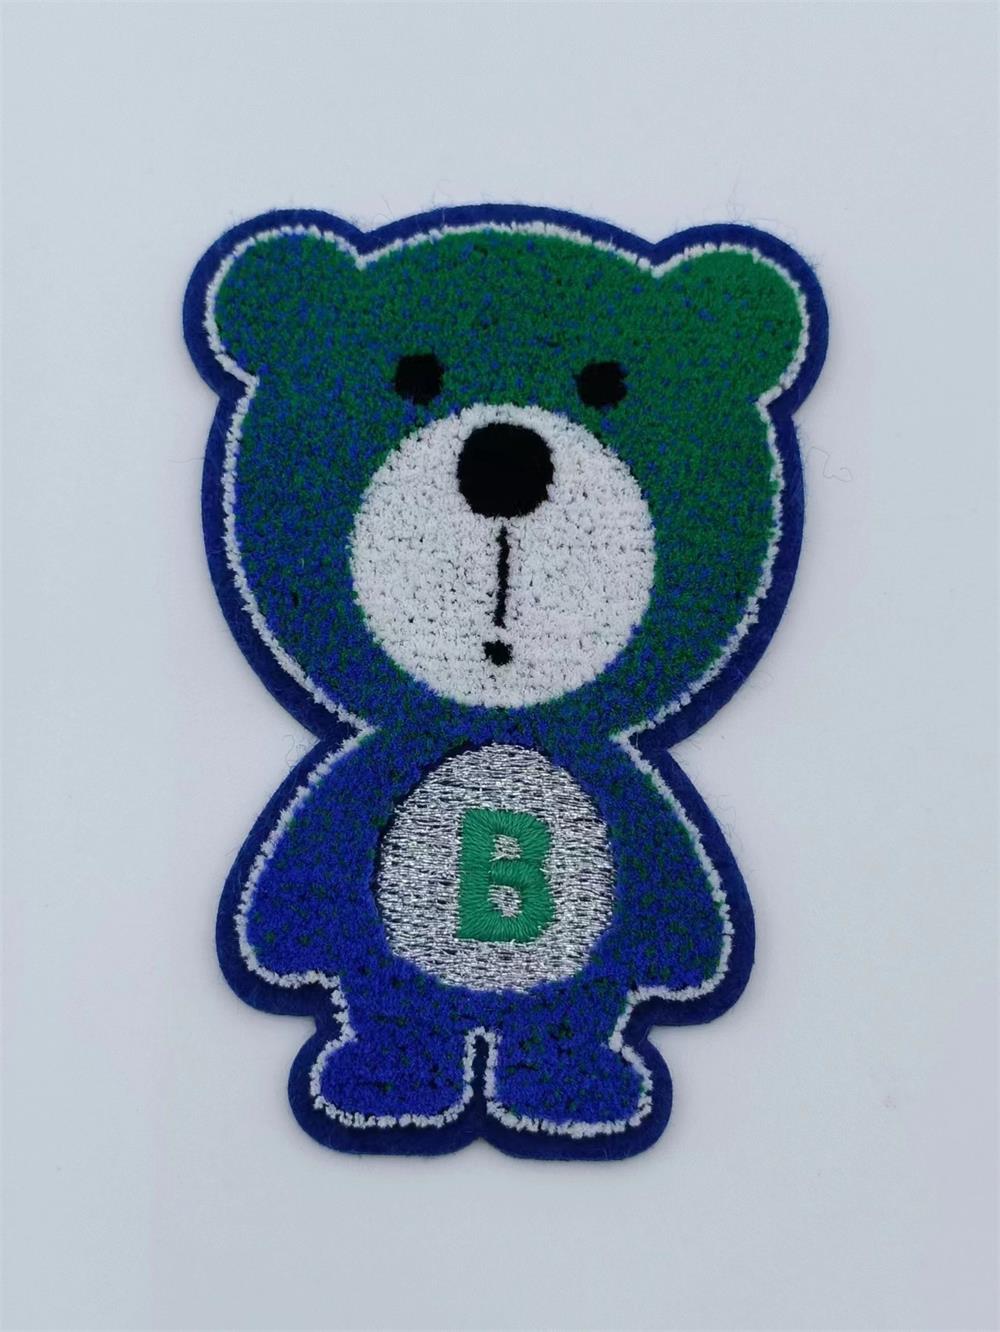
Towel embroidery: It is made by hooking (lifting) a single thread, or multiple threads, onto the top of the fabric with a crochet hook from below, arranged in the form of an "n", densely packed like our towels, with a soft "n" on top.
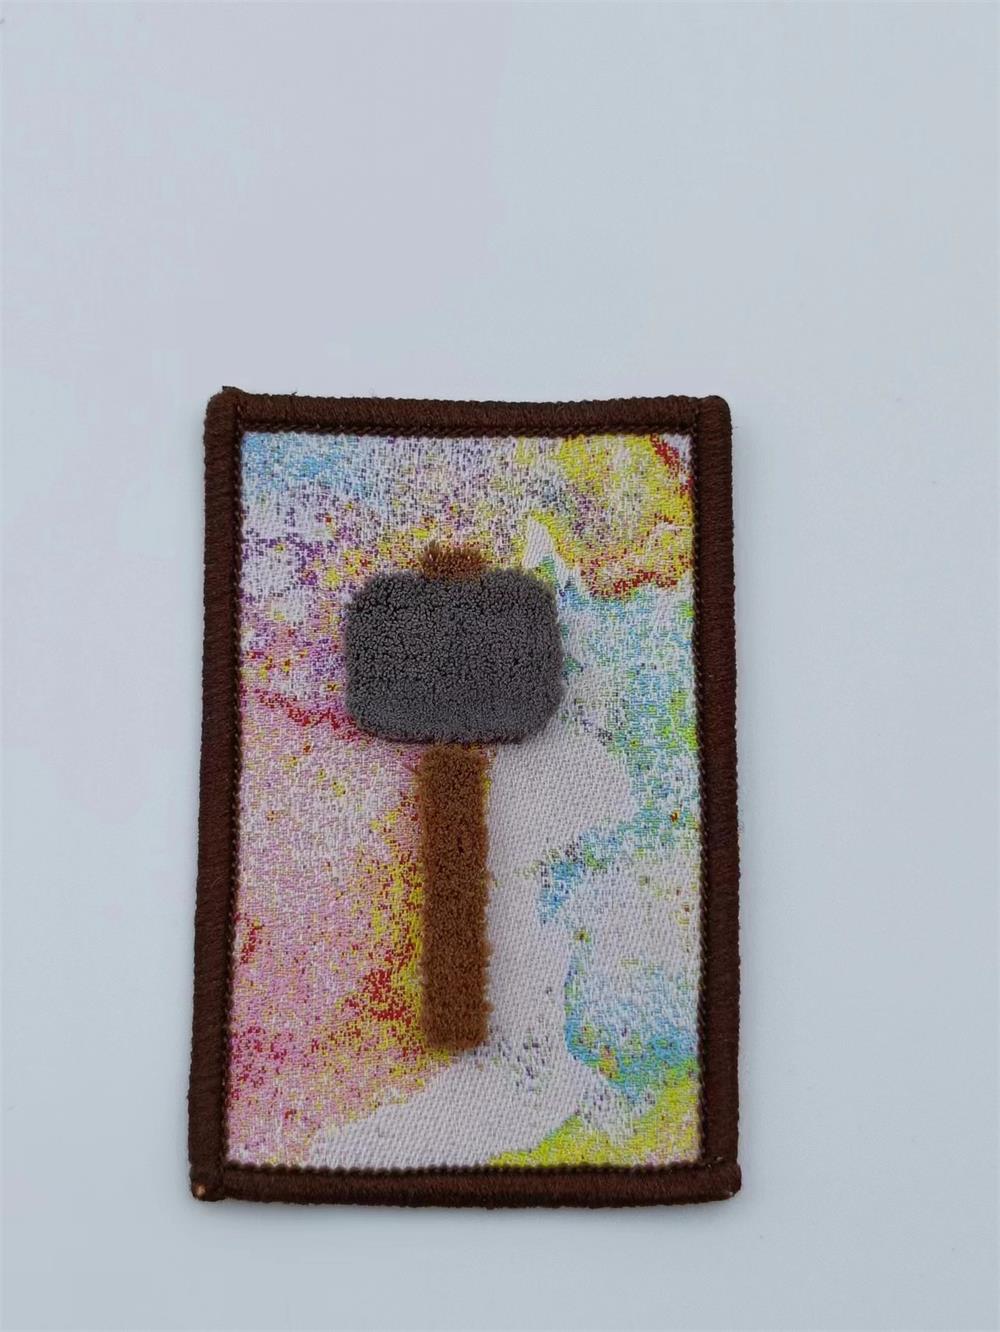
Toothbrush embroidery is embroidered on a flat embroidery machine by using a special material for padding and ironing on the back to fix the stitches, then cutting the knots and accessories on the surface with a cutting device and removing the padding material to form a vertical line.
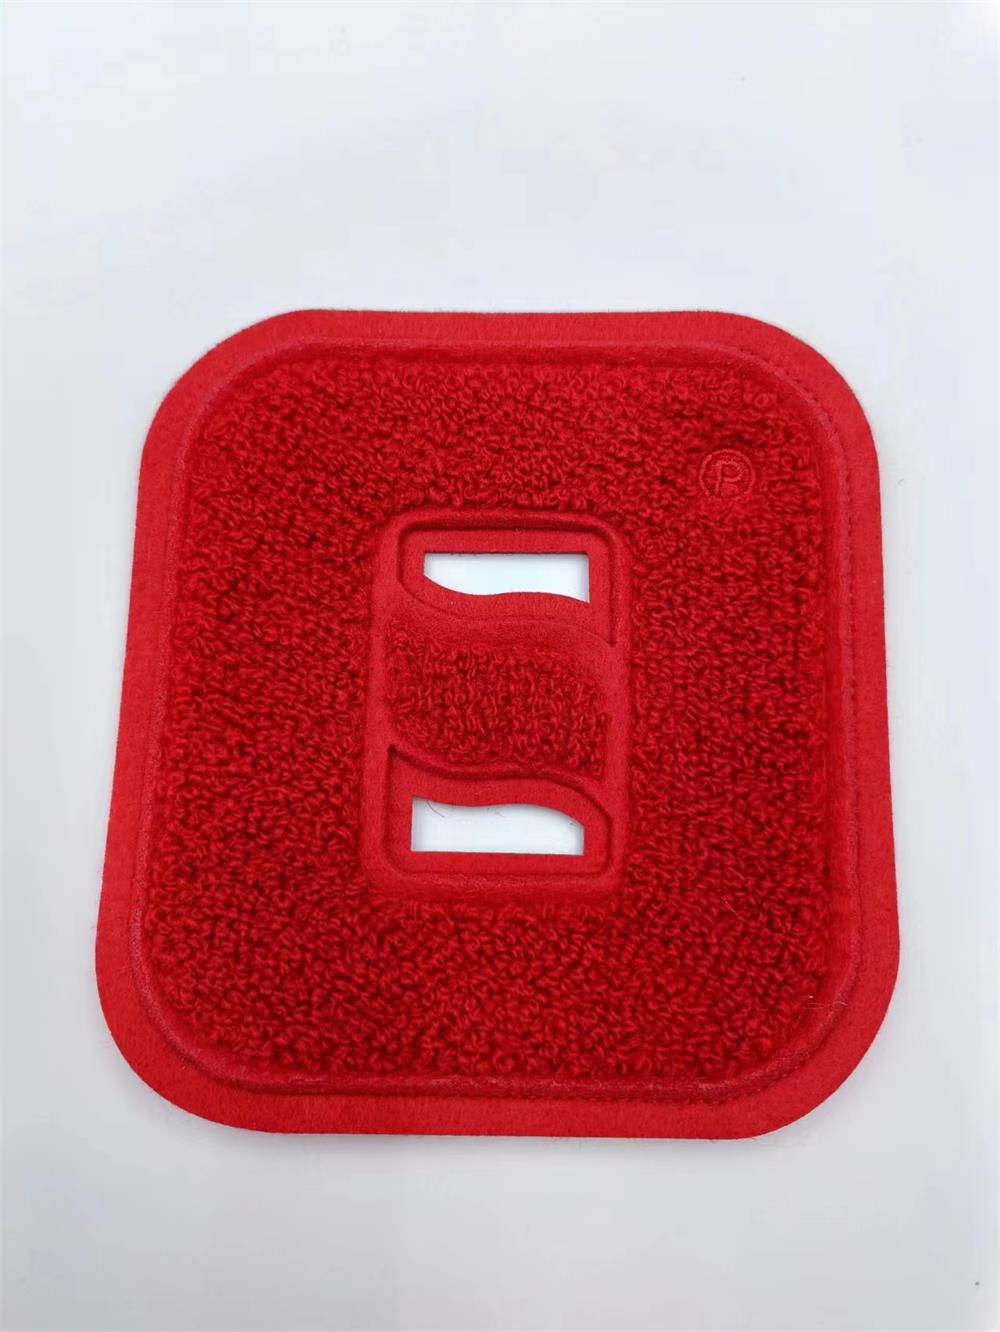
The form resembles a toothbrush, hence the name.
The core of toothbrush embroidery is the padding material, cutting device, and ironing glue.
Towel embroidery is divided into manual towel embroidery and computerized towel embroidery. 1. manual towel embroidery is a production method that integrates human and machine, called hooking, which is suitable for simple, hard and less colorful flower shapes. Computerized towel embroidery is also called: computerized hair hook, chain embroidery, chain eye embroidery, hair embroidery, computerized towel embroidery, machine towel embroidery and so on. The embroidered products are all exactly the same, and the production speed is fast, and the detailed flower shapes can be almost competently produced.
Toothbrush embroidery: The so-called "toothbrush embroidery" is named because the effect is similar to a toothbrush, also called standing thread embroidery.
Toothbrush embroidery production method:
Reverse side toothbrush embroidery: The effect of reverse side embroidery is to reverse the fabric and embroider it on the back side, but the effect of reverse side embroidery is not conducive to mixing multiple embroidery methods, so it is usually used for pure toothbrush embroidery.Front side toothbrush embroidery is the effect of embroidering on the front side of the fabric. The effect of embroidery is more messy than the reverse side embroidery because of the knotting of the front line and the bottom line.
Steps of reverse embroidery
Use the opening tape to open a single line on the sand net according to the size of the pattern.Cut out the sand screen along the outer frame of the single line and put double-sided tape along the perimeter of the cut out hole for applying three-dimensional tape.According to the size of the fabric and then paste a circle of double-sided tape to prepare to paste the fabric. Place a layer of sand screen before applying the adhesive to prevent the embroidery thread from getting caught in the adhesive during embroidery.Place the adhesive on top of the double-sided tape, and add a layer of wax paper on top of the adhesive to make it easier to embroider.Place the fabric on the double-sided tape with the back side up. Place a layer of iron on the embroidery area and embroider.Use an iron to heat dissolve the iron on the embroidery thread to prevent the thread from coming loose after the process, or you can add ironing glue to prevent the thread from coming loose after the process.Turn the ironed embroidery upside down and process it, just cut off the surface layer of sand net and take away the three-dimensional glue to get the toothbrush embroidery effect, it is better to use the sheet skin machine for mass production.The sheet skin machine is used for processing.The thickness of the skinning machine can be adjusted according to the requirements. The usual skinning range of these machines is 0.6~8mm. Steps of front side embroidery production.Use the opening belt to open a single stitch on the sand net.Cut the sand web along the outer frame of the single stitch. Apply double-sided tape along the edges of the openings.Add the necessary backing according to the characteristics of the material. After attaching the fabric with the front side up, embroider the flat part first.Finish embroidering the flat part.To prevent the stitches from getting caught in the adhesive, add a layer of sand screen on top of the adhesive.Embroider the toothbrush part.10.Toothbrush embroidery is finished.To prevent the embroidery thread from loosening, ironing glue is added on the bottom side of the embroidery. Note for toothbrush embroidery:
Usually single stitch method is used for the embroidery, the density depends on the thickness of the embroidery thread, usually 0.6mm X 0.6mm for 120D/2 thread and 1mm X 1mm for 200D/2 thread.
If you use more than 200D/2 thread, you should use 14# needle or above, it is better to use a thick thread spinning bobbin, otherwise it is easy to Otherwise, it is easy to block the thread.
The height of the presser foot of the needle bar in the toothbrush part of embroidery should be adjusted higher.
The hardness of EVA glue can be from 50 to 75 degrees, and the thickness can be determined according to the actual needs.
Post time: Jun-08-2023